
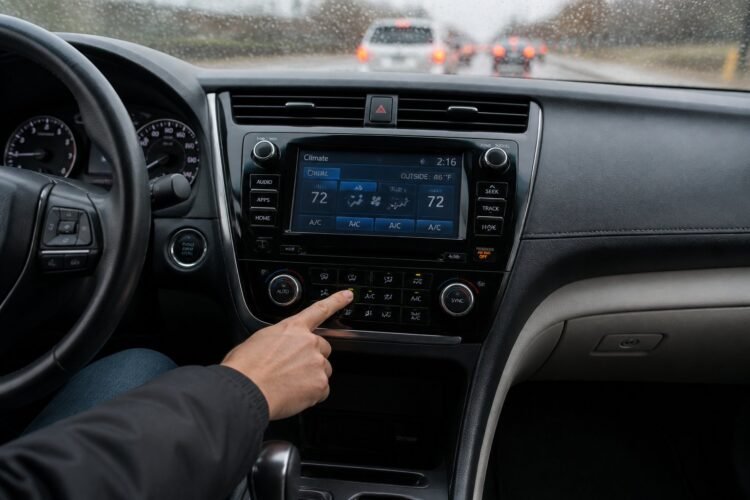

Knowing how to stop car from fogging up matters, because foggy windows can transform a routine drive into a frustrating and dangerous situation. When you’re fighting condensation on your windshield, visibility drops and stress rises. Understanding why this happens and knowing exactly what to do about your vehicle’s climate control makes all the difference between a clear view and a hazardous commute.
To stop your car from fogging up, turn on your air conditioner to dehumidify the interior air, switch off the air recirculation mode button to bring in fresh outside air, and direct the windshield defroster fan toward your glass at high speed. This combination addresses the core physical issue: warm, moist cabin air and high relative humidity inside your vehicle meeting cold glass surfaces, reaching the dew point, and creating the condensation that blocks your view.
You’ll discover why car windows fog up in the first place, the immediate actions that clear your windshield in seconds, and the preventive habits, such as checking your cabin air filter, which keep moisture from forming. This guide also covers effective anti fog products, maintenance solutions for persistent dampness, and the climate settings that make fog free driving your everyday reality.
Why Car Windows Fog Up and the Science of Condensation
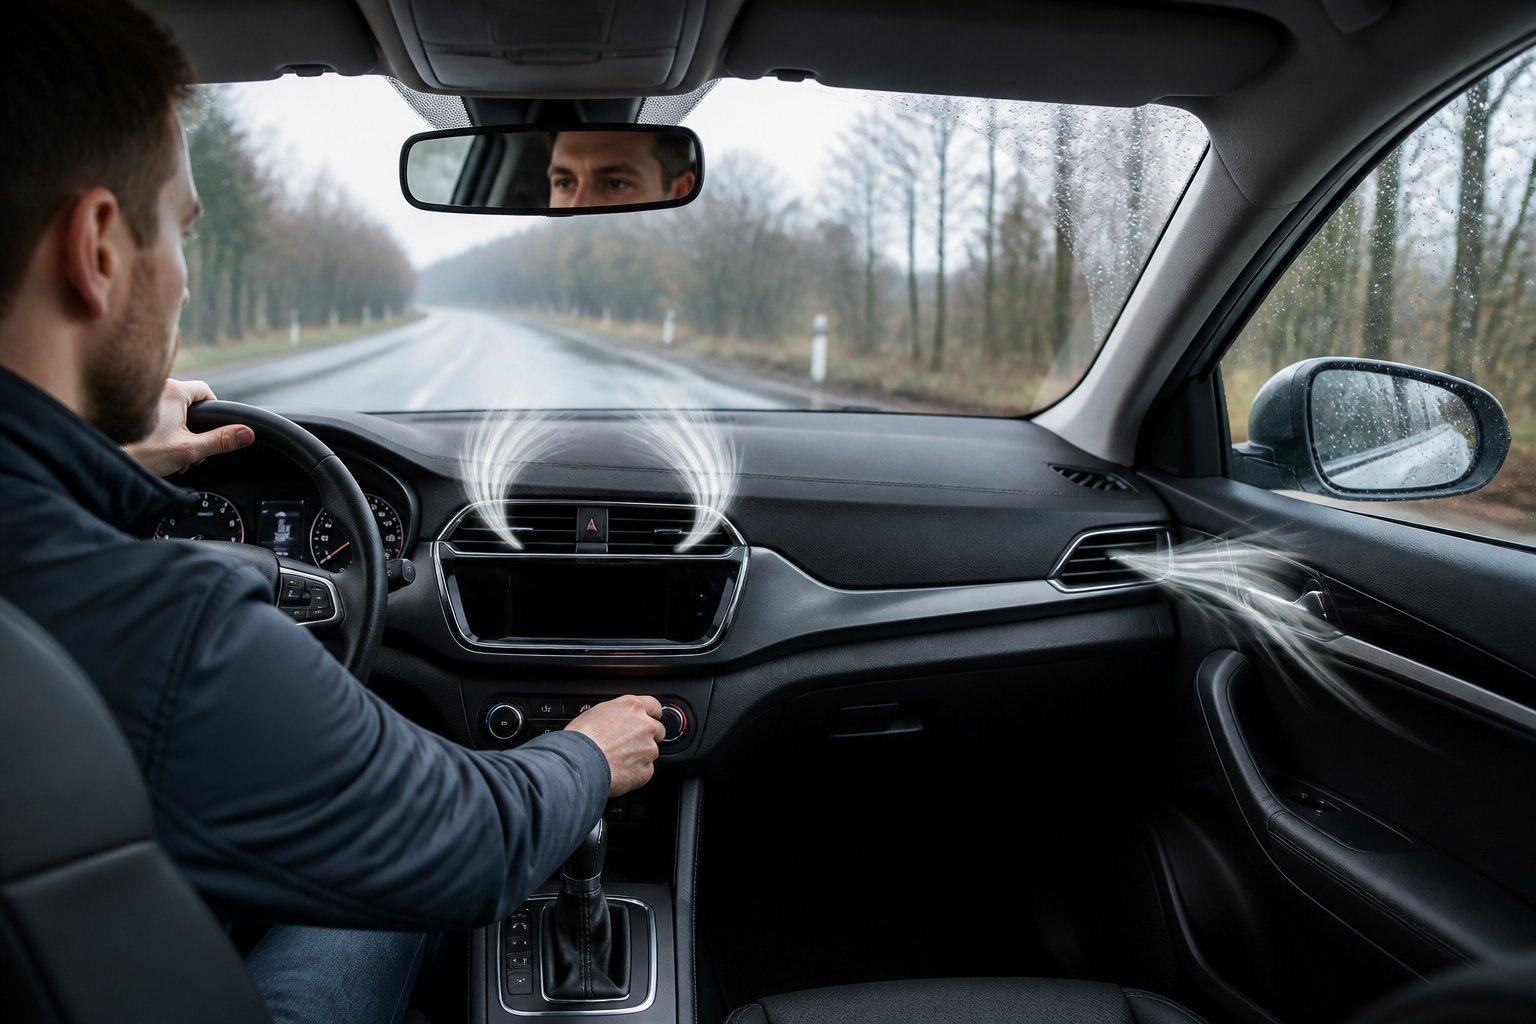
Car windows fog when warm, moist air inside your vehicle contacts the cooler glass surface. This temperature difference causes water vapor in the air to convert into liquid droplets, creating the cloudy film that obstructs your view.
The process behind windshield fogging is straightforward condensation. Your breath, wet clothing, and damp floor mats all release moisture into the cabin air. When this humid air meets the cold window glass, it rapidly cools down and loses its ability to hold water vapor.
Car window fogging occurs most frequently under these conditions:
- Cold mornings when exterior temperatures drop
- Rainy days with high humidity levels
- When multiple passengers breathe in an enclosed space
- After tracking snow or rain into your vehicle
The greater the temperature gap between your cabin air and the glass, the faster condensation forms. A vehicle packed with people generates more moisture through respiration, which explains why car windows fog up inside more intensely with passengers present.
Humidity is the critical factor in this equation. Even on moderately cool days, excessive moisture inside your car creates the perfect environment for a foggy windshield. The glass acts as the coldest surface in your cabin, making it the prime location where condensation appears first.
Understanding this science helps you tackle the problem effectively. You need to either reduce interior humidity or warm the glass surface to prevent that moisture from settling as fog.
Quick Steps to Stop Car From Fogging Up
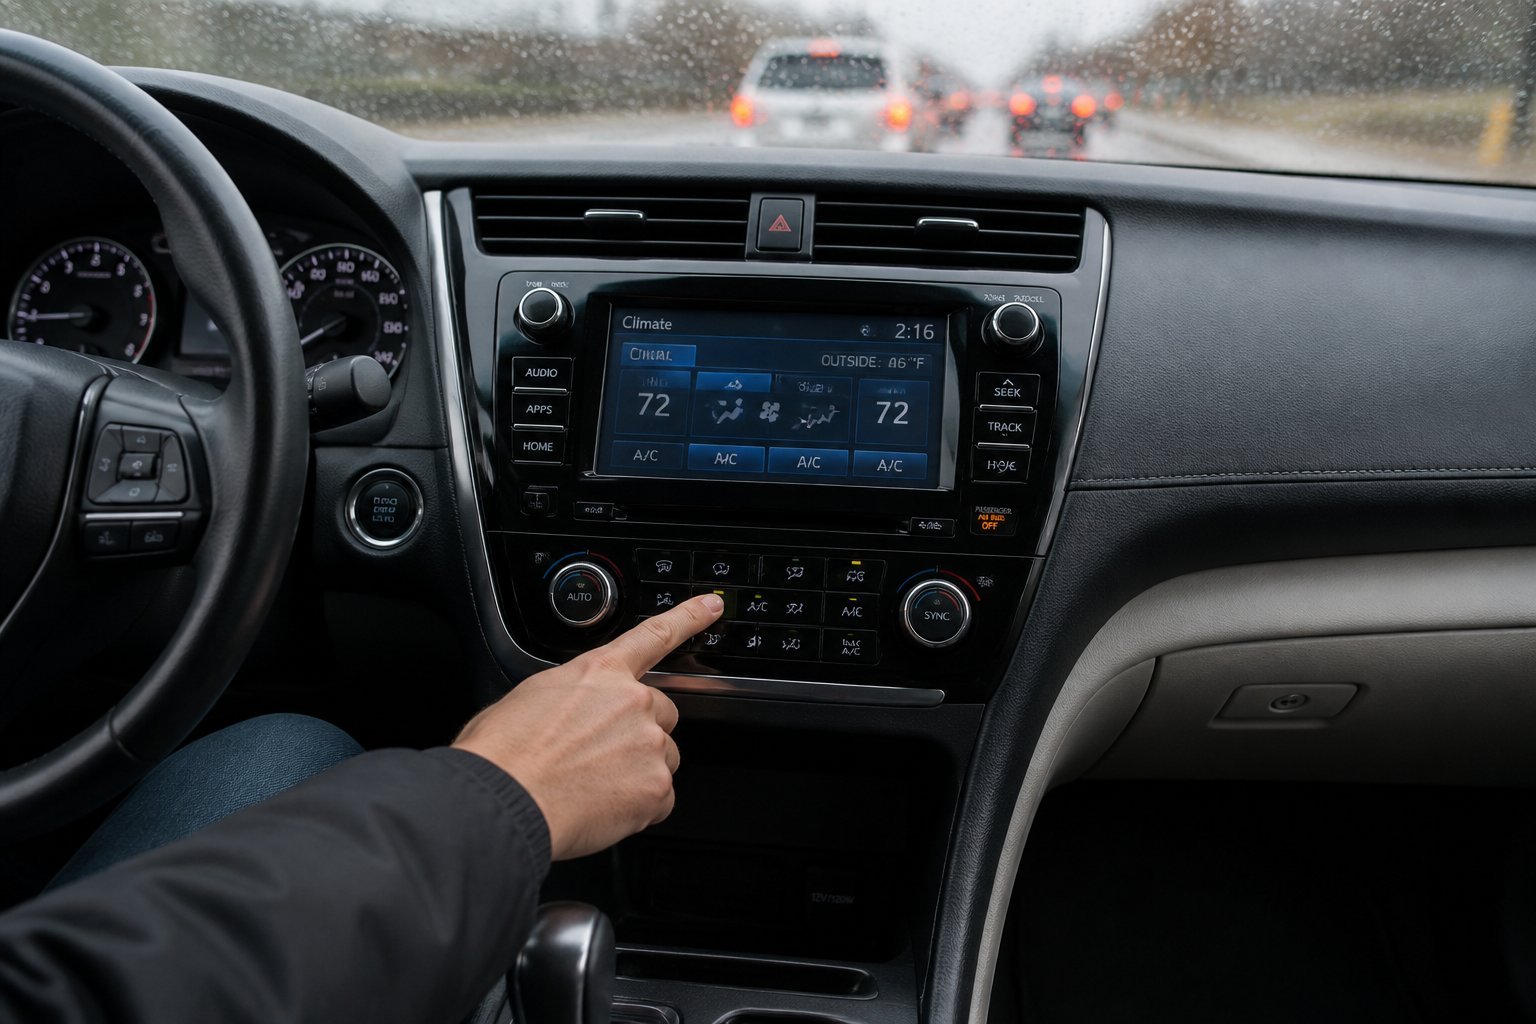
When condensation blocks your view, you need immediate action to restore visibility and drive safely. The fastest way to defog car windows involves using your vehicle’s climate control system strategically to remove moisture and warm the glass.
Using the Defroster and Front Defroster
Your defroster is specifically designed to clear condensation quickly. Press the defroster button, which typically shows a windshield icon with wavy lines, to activate this mode.
The front defroster automatically engages several systems simultaneously. It directs airflow to the windshield and front side windows, increases fan speed, and activates air conditioning to dry the air. This combination heats the glass while removing moisture from inside your car.
Most vehicles also have a rear defroster that uses heating elements embedded in the glass. You can activate both front and rear defrosters together for comprehensive clearing. The heated glass helps evaporate condensation faster than air alone.
Once visibility returns, you can adjust the fan speed down to reduce noise while maintaining clear windows.
Turning on the Air Conditioner
Air conditioning removes humidity from your car’s interior, which is essential for preventing and clearing fog. The AC system dehumidifies air regardless of temperature settings, so you can still enjoy warm air while drying out moisture.
Turn on your AC even in cold weather to stop car windows from fogging up. The system conditions the air by extracting water vapor before directing it to your windows. This dry air prevents new condensation from forming.
You don’t need cold air blasting to get the dehumidifying benefits. Set your temperature to a comfortable level while keeping the AC button engaged. The combination of warm, dry air clears fog effectively without making you uncomfortable.
Switching to Fresh Air Intake
Your climate control system has two modes: fresh air intake and recirculation. Always use fresh air intake when dealing with foggy windows.
Recirculation mode traps humid air inside your vehicle, making fog worse. This setting shows a car icon with a circular arrow and should be turned off immediately. Fresh air mode allows outside air to enter, which is typically drier than the air inside your car.
The fresh air setting is particularly important when your vehicle has multiple passengers. More people means more exhaled moisture and body heat, increasing humidity levels. Opening windows slightly can also help exchange humid interior air with drier outside air.
Adjusting Fan Speed and Airflow Direction
Start with your fan at maximum speed to clear fog quickly. High airflow delivers more dry air to your windshield and accelerates moisture removal.
Direct all vents toward your windshield and front windows where visibility matters most. Adjust the airflow selector to the windshield position, ensuring maximum coverage of fogged areas. Some vehicles have adjustable vents that you can manually point at problem spots.
Once your windows clear, reduce fan speed to a quieter, more comfortable level. Maintain airflow directed at the windshield to prevent fog from returning. Keep your climate settings active throughout your drive rather than turning them off completely.
Best Practices for Preventing Fog Buildup
Preventing fog requires managing the moisture and airflow inside your vehicle rather than constantly reacting to condensation after it forms. The most effective approach combines proper ventilation settings, regular glass maintenance, humidity control, and removing sources of excess moisture from the cabin.
Avoiding Recirculation Mode
Recirculation mode traps humid air inside your cabin instead of exchanging it with drier outside air. When you breathe, talk, or have passengers in the vehicle, you continuously add moisture to the cabin atmosphere. Each person exhales approximately one liter of water vapor per hour.
Using fresh air mode allows this moisture to escape and brings in outside air that is typically drier, even in cold weather. The recirculation button should only be used temporarily in situations like heavy traffic with exhaust fumes. Understanding which HVAC settings actually work makes a significant difference in how quickly fog clears.
Turn on your air conditioning even in winter. The A/C compressor removes moisture from the air before it reaches your windshield, which is why the defroster works more effectively when the A/C runs simultaneously with heat.
Keeping Car Windows and Glass Clean
A dirty windshield interior fogs faster and more severely than a clean one. The interior glass accumulates an oily film from dashboard plastics, skin oils, dust particles, and other contaminants that create microscopic roughness where water vapor condenses more readily.
Clean your windshield interior every two to four weeks using an automotive glass cleaner and microfiber cloths. Spray the cleaner onto the cloth rather than directly onto the glass to prevent overspray on your dashboard. Wipe in straight, overlapping strokes from top to bottom, then buff immediately with a second dry cloth to remove streaks.
For heavily contaminated glass, use a 50/50 solution of white distilled vinegar and water before the final glass cleaner pass. Avoid ammonia-based household cleaners that can damage window tinting and vinyl trim. After cleaning, apply an anti-fog treatment to create a chemical barrier that prevents water vapor from forming visible droplets on the surface.
Controlling Interior Humidity
Excess moisture in your cabin air directly causes fogging problems. Using moisture absorbers while your vehicle is parked pulls water vapor out of the air and prevents the humidity buildup that leads to immediate fogging on cold morning startups.
Reusable silica gel dehumidifiers designed for vehicle cabins sit on your dashboard or between seats without requiring power. These units absorb moisture while parked and can be recharged by placing them in an oven to drive out accumulated water. For regions with extended wet or cold seasons, one dehumidifier in the front and another in the rear covers larger cabin volumes more effectively.
Your cabin air filter also affects humidity control. A clogged filter restricts airflow through your HVAC system and reduces the defroster’s ability to move air across the windshield. Replace cabin air filters every 12,000 to 15,000 miles or according to your manufacturer’s schedule.
Removing Wet Items and Floor Mats
Wet floor mats are a major source of continuous moisture evaporation. A single pair of snow-covered boots can introduce enough water to evaporate throughout your entire drive and for hours afterward while parked.
Remove and shake out rubber or all-weather floor mats regularly during wet seasons. These mats prevent water from soaking into carpeting where it becomes much harder to dry. If your carpets do get wet, use towels to absorb as much moisture as possible, then leave windows cracked slightly overnight in a safe location to allow humidity to escape.
Store wet coats, umbrellas, and sporting equipment in waterproof bags or in the trunk rather than the passenger compartment. This separates the moisture source from your cabin air. After visiting a car wash in winter, wipe down door jambs and trunk seals where water can freeze or evaporate into the cabin.
Maintenance Tips for Long-Term Fog Prevention
Persistent fogging often signals underlying maintenance issues rather than temporary humidity problems. Regular inspection of seals, prompt replacement of worn weatherstripping, and proper climate system upkeep eliminate chronic moisture intrusion and ensure your defroster operates at full capacity.
Checking for Leaks and Window Seals
Water entering your cabin through compromised seals creates ongoing humidity that no amount of defrosting can fully overcome. Start by inspecting window seals around all glass surfaces for visible cracks, hardening, or gaps where the rubber meets the frame.
Run your hand along each seal to feel for brittleness or separation. Press gently on the weatherstripping it should compress and spring back. If it stays compressed or feels stiff, replacement is needed.
Check for water pooling under floor mats, particularly after rain or car washes. Wet carpeting that never fully dries indicates an active leak. Remove floor mats completely and inspect the carpet underneath for dampness or water stains.
Sunroof drains often clog with debris, causing water to overflow into the cabin headliner and eventually drip onto seats and carpeting. Pour a small amount of water into the sunroof drain channels to verify they flow freely. If water backs up, the drain tubes require clearing.
Replacing Worn Door Seals
Door seals prevent external moisture from entering while you drive through rain or park in damp conditions. Degraded door seals allow water to seep in gradually, saturating carpets and releasing humidity into the cabin air continuously.
Examine door seals by opening each door and inspecting the rubber gasket that runs the entire perimeter. Look for tears, compression damage where the door closes, or sections that have pulled away from the mounting channel.
Signs door seals need replacement:
- Visible gaps when the door is closed
- Wind noise while driving at highway speeds
- Water drips from door frame after rain
- Rubber feels hard or cracked to the touch
Replacement door seals are vehicle-specific and typically install by pressing into a channel along the door frame. Clean the channel thoroughly before installing new seals to ensure proper adhesion and fit.
Maintaining Air Conditioning and Defrost Systems
Your car’s air conditioning system actively removes moisture from cabin air because the windshield defroster depends entirely on this dehumidification function. A degraded AC system blows air without extracting water vapor, leaving warm, humid air that accelerates windshield fogging instead of preventing it.
Replace the cabin air filter every 12,000 to 15,000 miles. A clogged filter restricts airflow through the defroster vents and reduces the HVAC system’s ability to process and dehumidify incoming air.
Regularly monitor your AC refrigerant levels. If your climate control blows warm air or the compressor cycles rapidly, your refrigerant may be low from a leak. Low refrigerant directly reduces evaporator core moisture removal capacity even when the compressor runs.
Finally, check that your AC condenser drain tube isn’t clogged with debris. This line routes condensation collected by the air conditioning system to the ground beneath your vehicle chassis. A blocked evaporator drain causes water to back up into passenger footwells, creating the exact high relative humidity and moisture problem your AC is supposed to eliminate. You should see water dripping under your car after running the climate control, and if you don’t, the drain line may be obstructed.
Anti-Fog Treatments: Sprays, Films, and DIY Solutions
Commercial anti-fog sprays create a thin, invisible film on your windows that prevents water droplets from forming, while anti-fog films offer longer-lasting protection. DIY treatments using household items can provide temporary relief when professional products aren’t available.
Commercial Anti-Fog Spray and Solutions
Commercial anti-fog spray products are specifically formulated for automotive glass and provide reliable fog prevention. These solutions work by altering the surface tension of your windshield, which stops moisture from condensing into fog-causing droplets.
When selecting an anti-fog solution, look for ammonia-free formulas that won’t damage tinted windows or interior surfaces. Most commercial sprays are available at auto parts stores and online retailers.
Application is straightforward. Spray the product onto a clean microfiber cloth rather than directly on the glass. Wipe it evenly across the interior surface using overlapping strokes, then buff until completely clear.
Professional anti-fog treatments typically last several weeks before requiring reapplication. You’ll need to clean your windshield thoroughly before each application to ensure the product bonds effectively to the glass surface.
Applying DIY Anti-Fog Treatments
DIY anti-fog methods like shaving cream or dish soap can offer short-term relief but come with significant drawbacks. These household solutions create a temporary hydrophobic coating that blocks condensation.
Shaving cream is one popular DIY treatment. Apply a small amount to your windshield, spread it evenly, then buff it off completely. This leaves behind a thin film that repels moisture temporarily but often creates streaks and residue buildup.
Vinegar and water mixtures clean the surface but don’t actually prevent fog formation. Raw potatoes rubbed on glass can work briefly, though they leave smears that reduce clarity.
Silica gel packets or kitty litter placed in your cabin absorb moisture and help reduce humidity levels. While this doesn’t provide instant fog prevention, it addresses one root cause of the problem over time.
Installing Anti-Fog Film
Anti-fog film provides a long-term solution that doesn’t require frequent reapplication like sprays or DIY treatments. These films bond to your windshield and continuously prevent condensation.
Installation requires careful preparation. Clean your windshield thoroughly to remove all dirt, oils, and residue. Measure and cut the film to match your window dimensions, leaving a small margin for adjustment.
Apply a light mist of application solution to both the glass and the film’s adhesive side. Position the film carefully, then use a squeegee to remove air bubbles and excess liquid, working from the center outward.
The film needs 24-48 hours to cure fully. During this time, avoid rolling down windows or cleaning the treated surface. Once set, the film can last for months or even years with proper care.
Handy Tools and Products for Clear Windows
Keeping the right tools in your vehicle makes it easier to maintain clear windows and prevent fogging. Quality cleaning materials, moisture-controlling products, and a well-maintained air filtration system work together to reduce condensation buildup.
Microfiber Cloths for Cleaning
A clean microfiber cloth should be a permanent fixture in your car for wiping away fog as it appears. These cloths effectively remove moisture without leaving streaks or lint behind on your glass surfaces.
You should regularly clean the inside of your windows with a glass cleaner and microfiber cloth to remove oily residue from hands or other sources that attract moisture. This cleaning removes contaminants that give water vapor more surface area to cling to your windows.
Keep multiple microfiber cloths available so you always have a clean one ready. Wash them regularly in hot water without fabric softener, which can reduce their absorbency. Store one in your glove compartment and another in your door pocket for quick access when condensation starts forming.
Using Moisture Absorbers
Moisture absorbers pull excess humidity from your car’s interior before it can condense on windows. Silica gel packets, rechargeable dehumidifier bags, and disposable moisture traps are effective options for reducing interior humidity levels.
Place moisture absorbers under seats, in door pockets, or on the dashboard when parking overnight. These products are particularly useful if you live in humid climates or frequently have wet items in your vehicle. Replace or recharge them according to manufacturer instructions to maintain effectiveness.
Dehumidifier bags typically contain calcium chloride or silica crystals that change color when saturated, indicating when they need replacement. Some rechargeable options can be dried in sunlight or a low-temperature oven to restore their moisture-absorbing capacity.
Inspecting and Changing the Cabin Air Filter
Your cabin air filter removes dust, pollen, and other particles from air entering your vehicle’s HVAC system. A clogged or dirty filter restricts airflow and reduces your car’s ability to clear foggy windows effectively.
Check your owner’s manual for the recommended replacement interval, typically every 12,000 to 15,000 miles. You can inspect the filter yourself by locating it behind the glove compartment or under the hood, depending on your vehicle model.
A dirty filter appears dark gray or black and may contain visible debris. Replacing it improves air circulation, helps your defrosting system work more efficiently, and reduces moisture buildup inside your car.
